You must have administrator privileges to update payment settings. If you don’t have access, please contact your company’s Administrator.
Why would you create a payment limit?
Setting a payment limit allows your organisation to: control spend risk and/or Define thresholds for approvals, alerts, or blocks.
1) Log onto your account, which will take you to the dashboard;
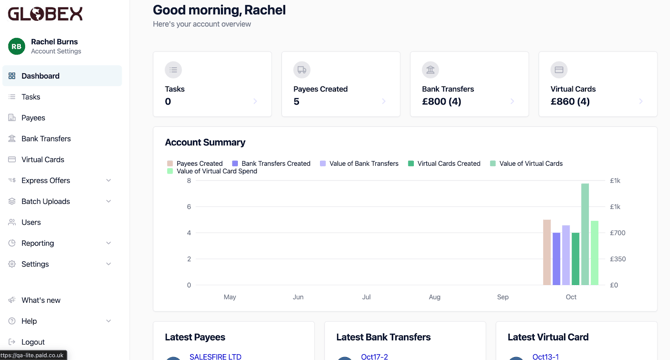
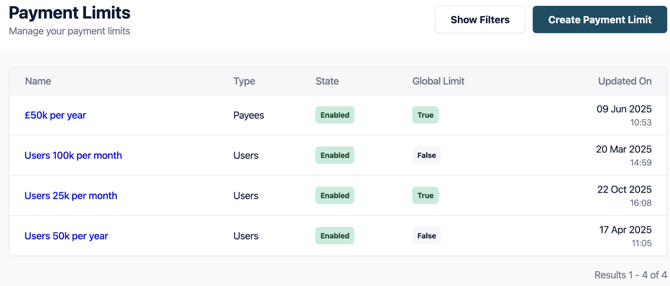
2) From the dashboard please go into ‘Settings’ from the menu on the left hand side. From this dropdown go to ‘Payment Limits’ and select ‘Create Payment Limit’ in the top right corner;
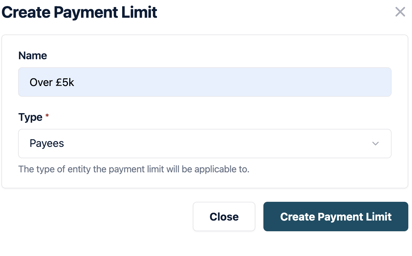
3) Populate the Name of your limit eg; Over £5K and Type -Payee (Supplier) or Users.
4) Once you have created the limit, you will need to need to click into the limit to create the specific details;
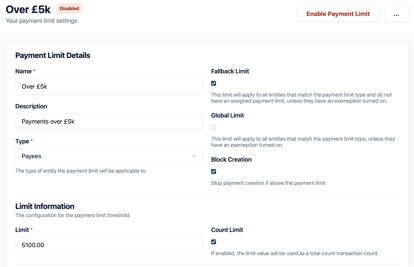
The type of entity the payment limit will be applicable, will either be 'User' or 'Payee'. You can select from the dropdown, in this case, ‘Type” refers to the payee.
You will also need to select the following limit details;
Fallback limit means this limit will apply to all entities that match the payment limit type and do not have an assigned payment limit, unless they have an exemption turned on.
Global limit means this limit will apply to all entities that match the payment limit type, unless they have an exemption turned on.
Block Creation - Stop payment creation if above the payment limit.
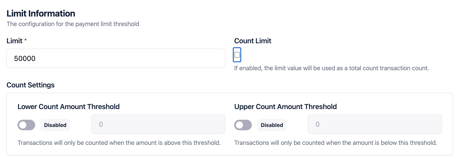
5) You will then need to populate the 'Limit Information' this will be the monetary limit OR the 'Count Limit', the limit is either the monetary value - or if the count limit is checked then it is a count. e.g. 25,000 or 5 items [if the count limit is checked]. If the count limit is enabled, the limit value will be used as a total count transaction count. Then the lower count and upper count are optional. 'Lower Count Amount' -Transactions will only be counted when the amount is above this threshold. Or 'Upper Count Amount' - Transactions will only be counted when the amount is below this threshold.
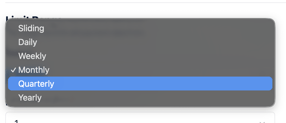
6) Your 'Limit Range' is the range the payment data will be measured against. This will be the time period, if yearly you will select the month start date, you will also be asked the start day.
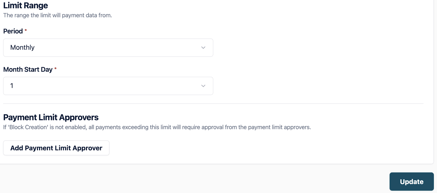
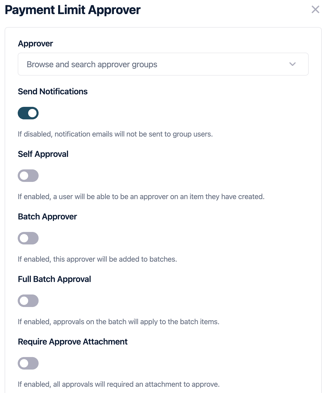
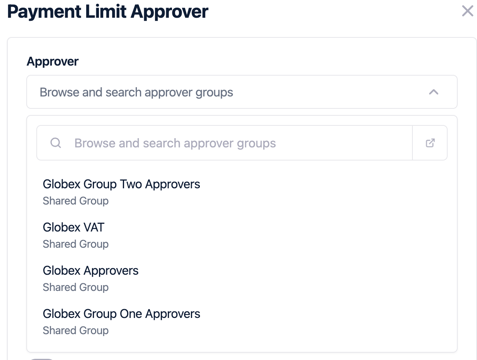
7) If you want to add an Approver, select “Add Payment Limit Approver” this will take you to a pop out of the right hand side of the screen. You are able to select your approver from the dropdown.
8) Once you are happy with the the limit you have created select;
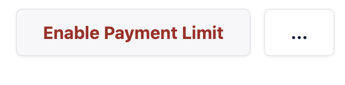
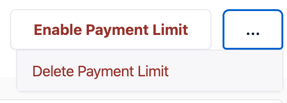
9) Alternatively you can delete the payment limit by selecting the three dots and clicking on ‘delete payment limit’;