You must have administrator privileges to update user settings. If you don’t have access, please contact your company’s Super Admin.
Purpose: Creation confirmations are custom messages or prompts that appear when a user tries to: Add a new payee, submit a payment to a specific payee, engage with high-risk or sensitive payees. These confirmations help enforce internal checks, warnings, or policy reminders.
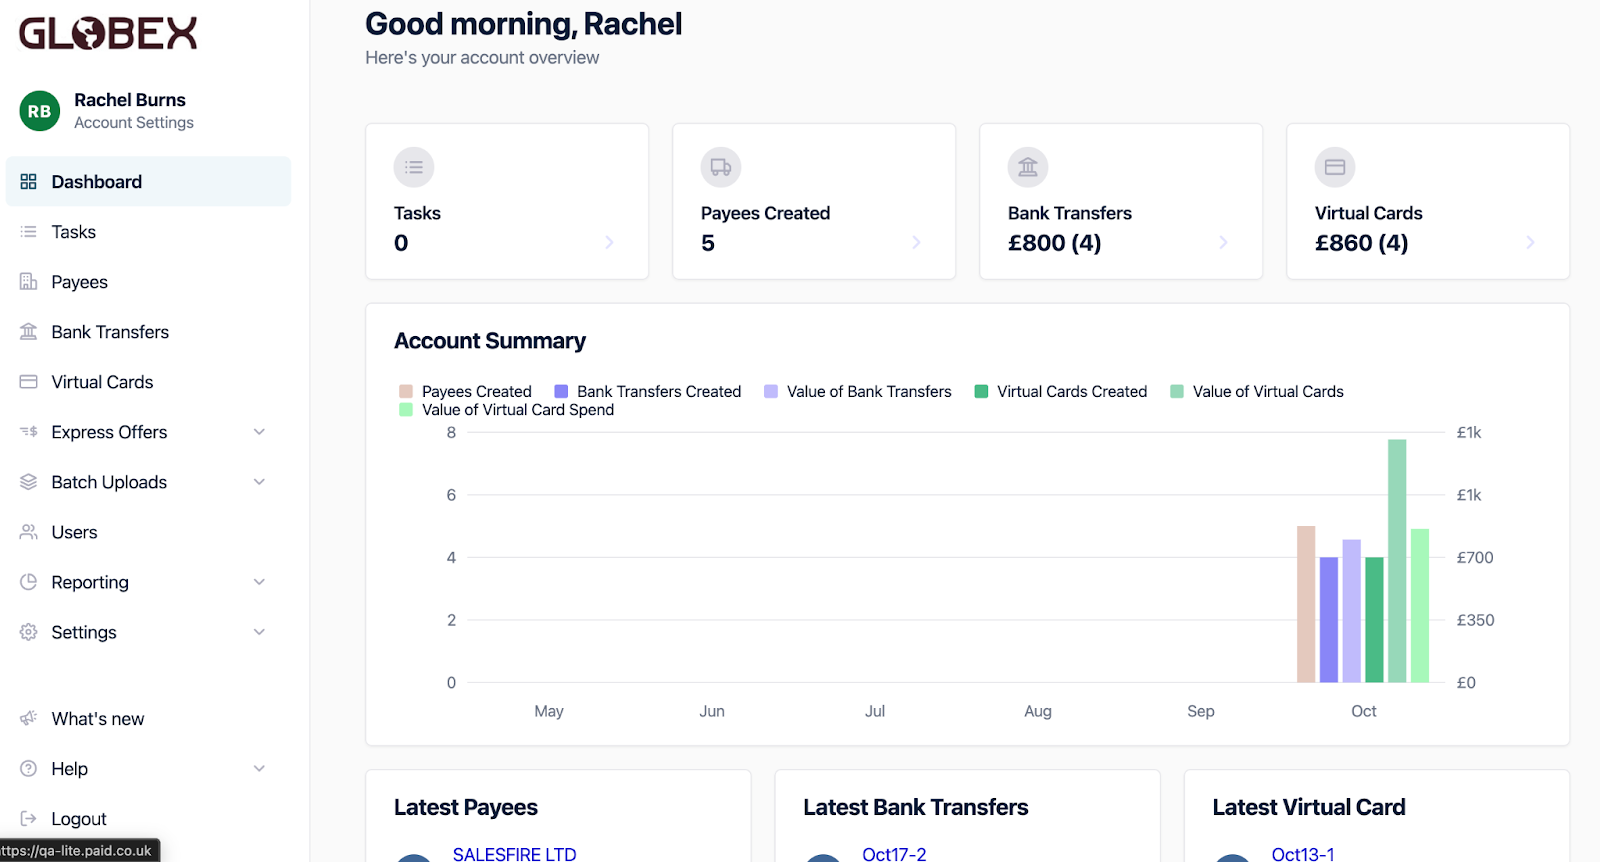
1) Log onto your account, which will take you to the dashboard;
2) From the dashboard please go into ‘Settings’ from the menu on the left hand side, from this dropdown go to Payees;
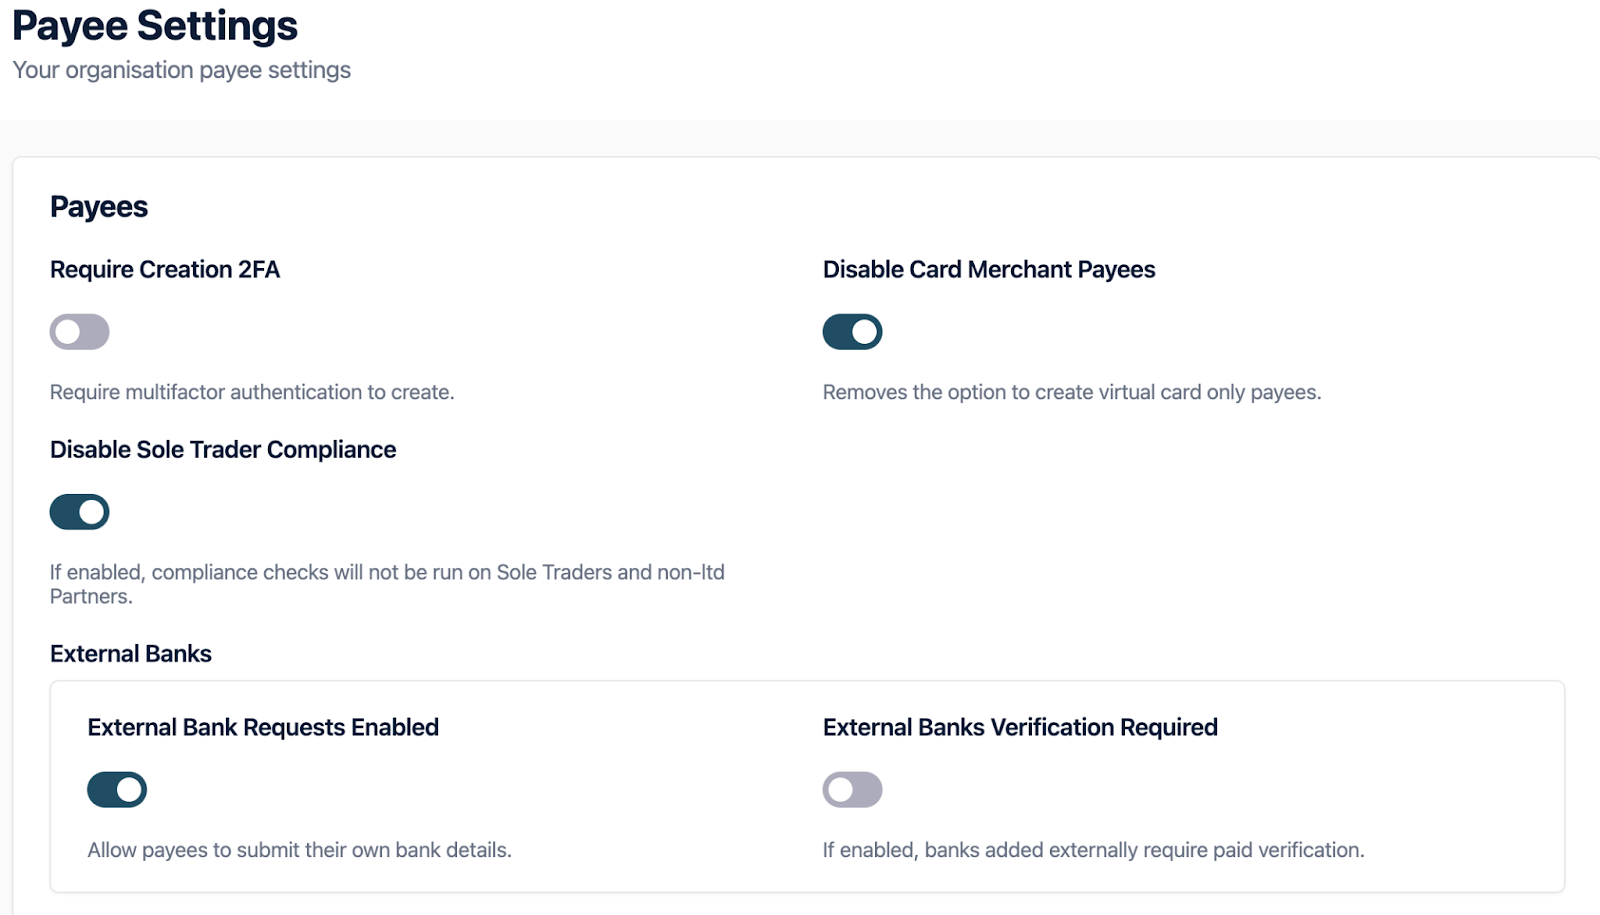
Scroll down the page to ‘Creation Confirmation’;

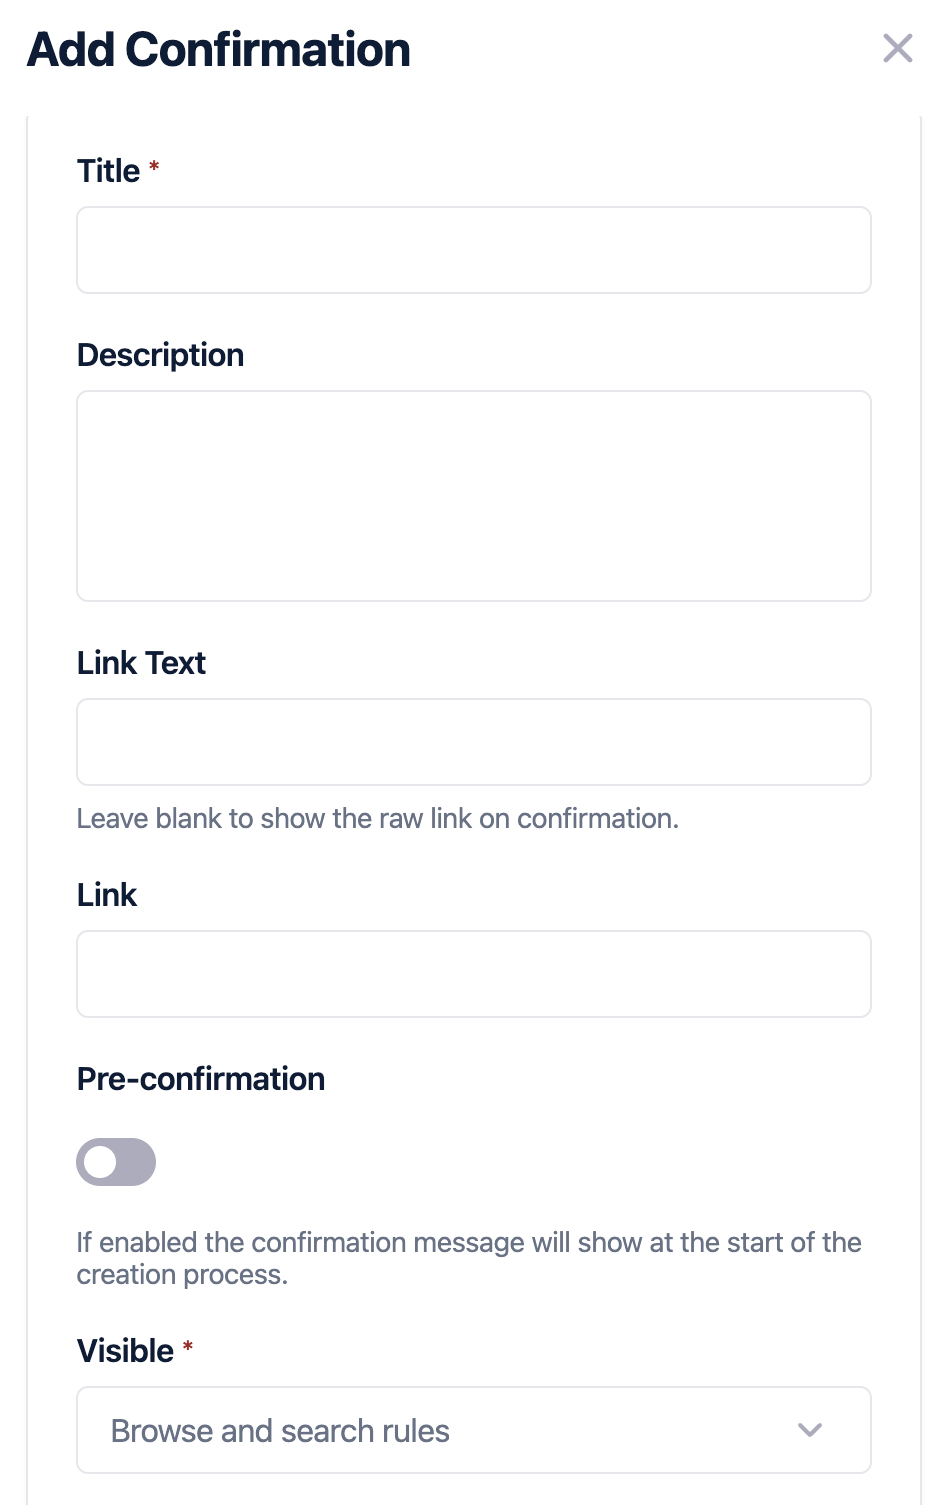
3) Select ‘Add confirmation’ and a pop out will appear on the right hand side of the screen. When you are adding a new Confirmation you will be asked for; Title/Label, Description, Optional URL/link (e.g., policy page), Visibility (determine when and where the message is shown).
Before you set up the new confirmation, it is important to understand the two types of Confirmation Messages;
|
Type |
Description |
Where It would Appear |
|
Pre-confirmation |
Message appears before the user completes any steps in the card creation journey. |
At the beginning (e.g., a compliance check pop-up). |
|
Post-confirmation |
Message appears after the user has entered details, just before final submission. |
On the summary screen. |
Example: A pre-confirmation might ask the user: "Do you abide by all of our rules before you create the virtual card?"
4) Once you’ve added or edited a message, make sure to click Save. Your changes will now apply to the relevant card creation flow (pre or post-confirmation, depending on setup).