Confirmation messages are used during virtual card creation to ensure users acknowledge specific rules or provide final verification before completing a transaction.
You must have administrator privileges to update user settings. If you don’t have access, please contact your company’s Super Admin.
1) Log onto your account, which will take you to the dashboard;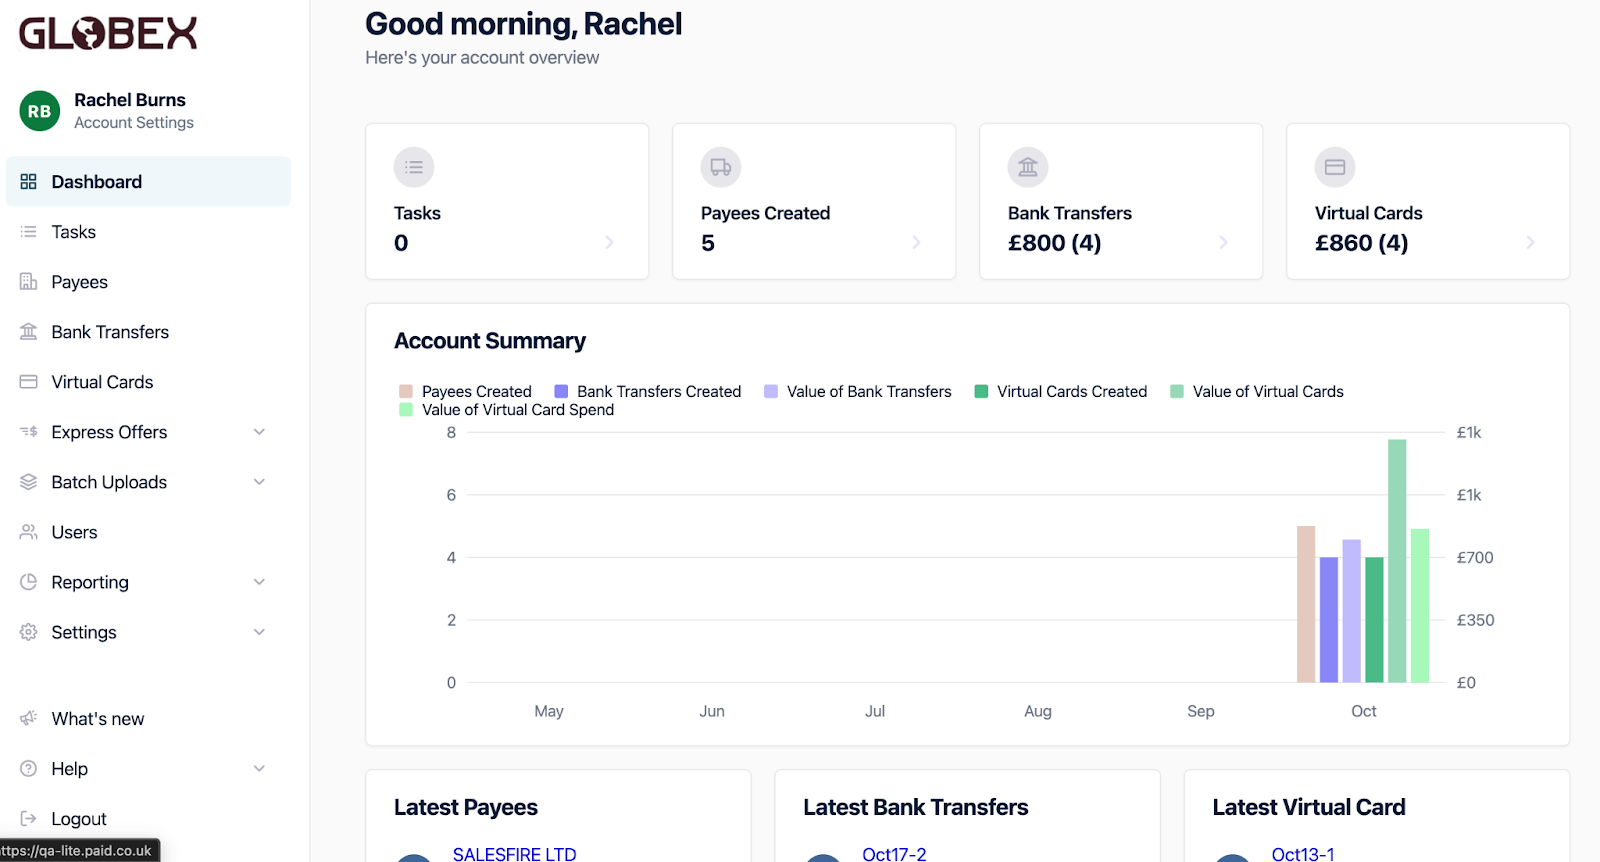
2) From the dashboard please go into ‘Settings’ from the menu on the left hand side, from this dropdown go to Payments;
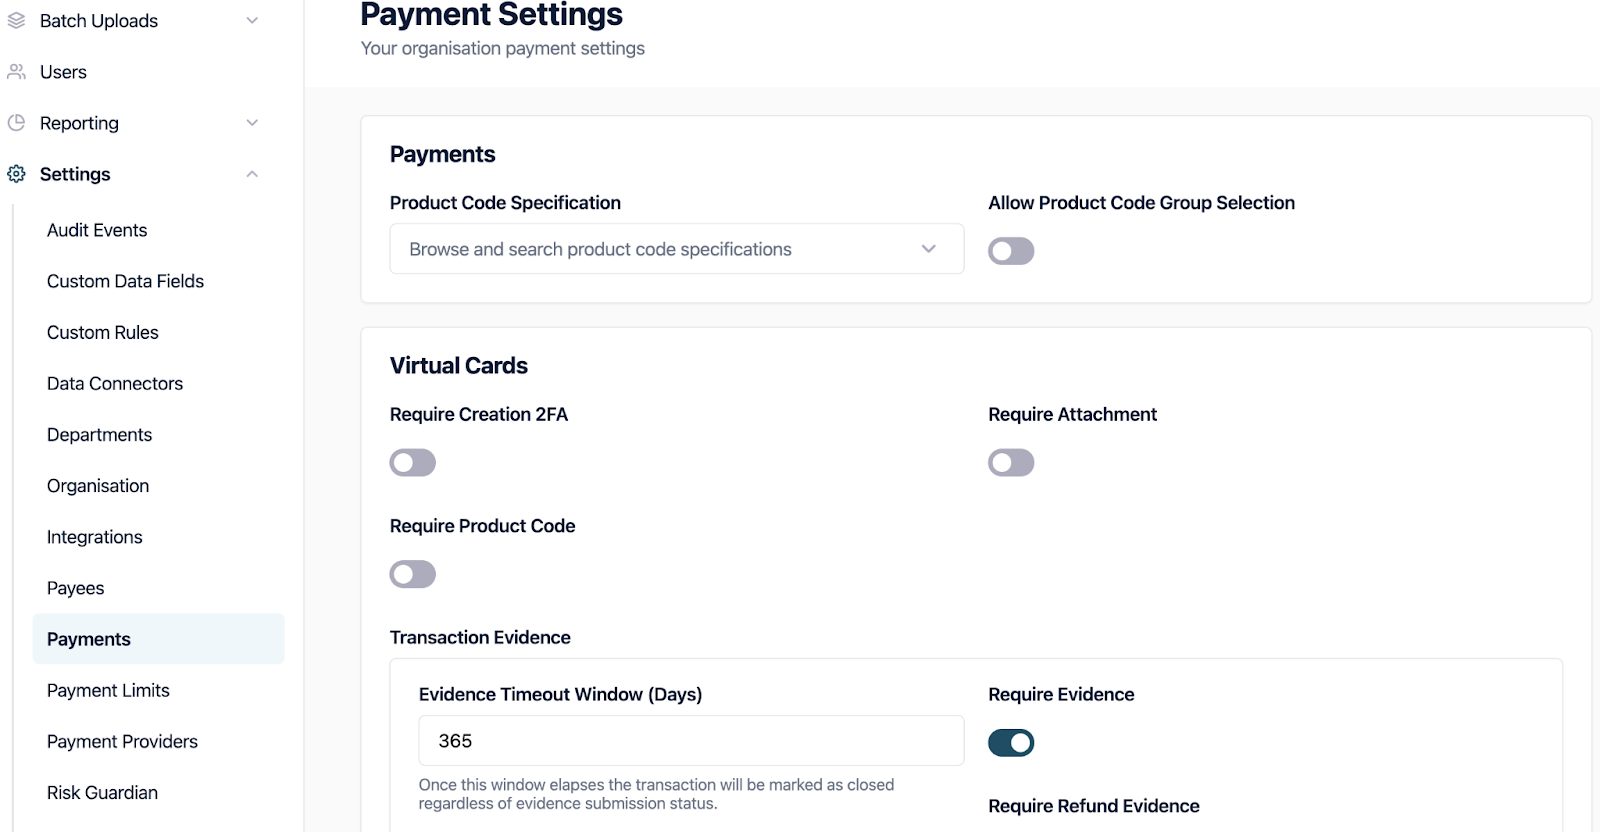
3) From here you will need to scroll down the page to “Creation Confirmations”;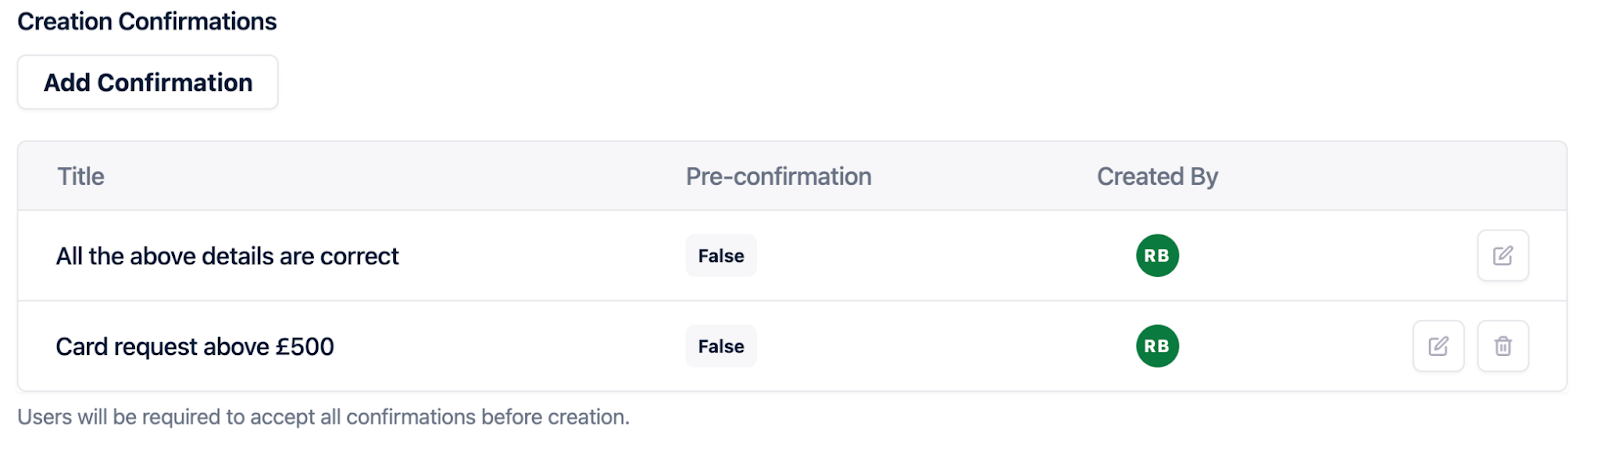
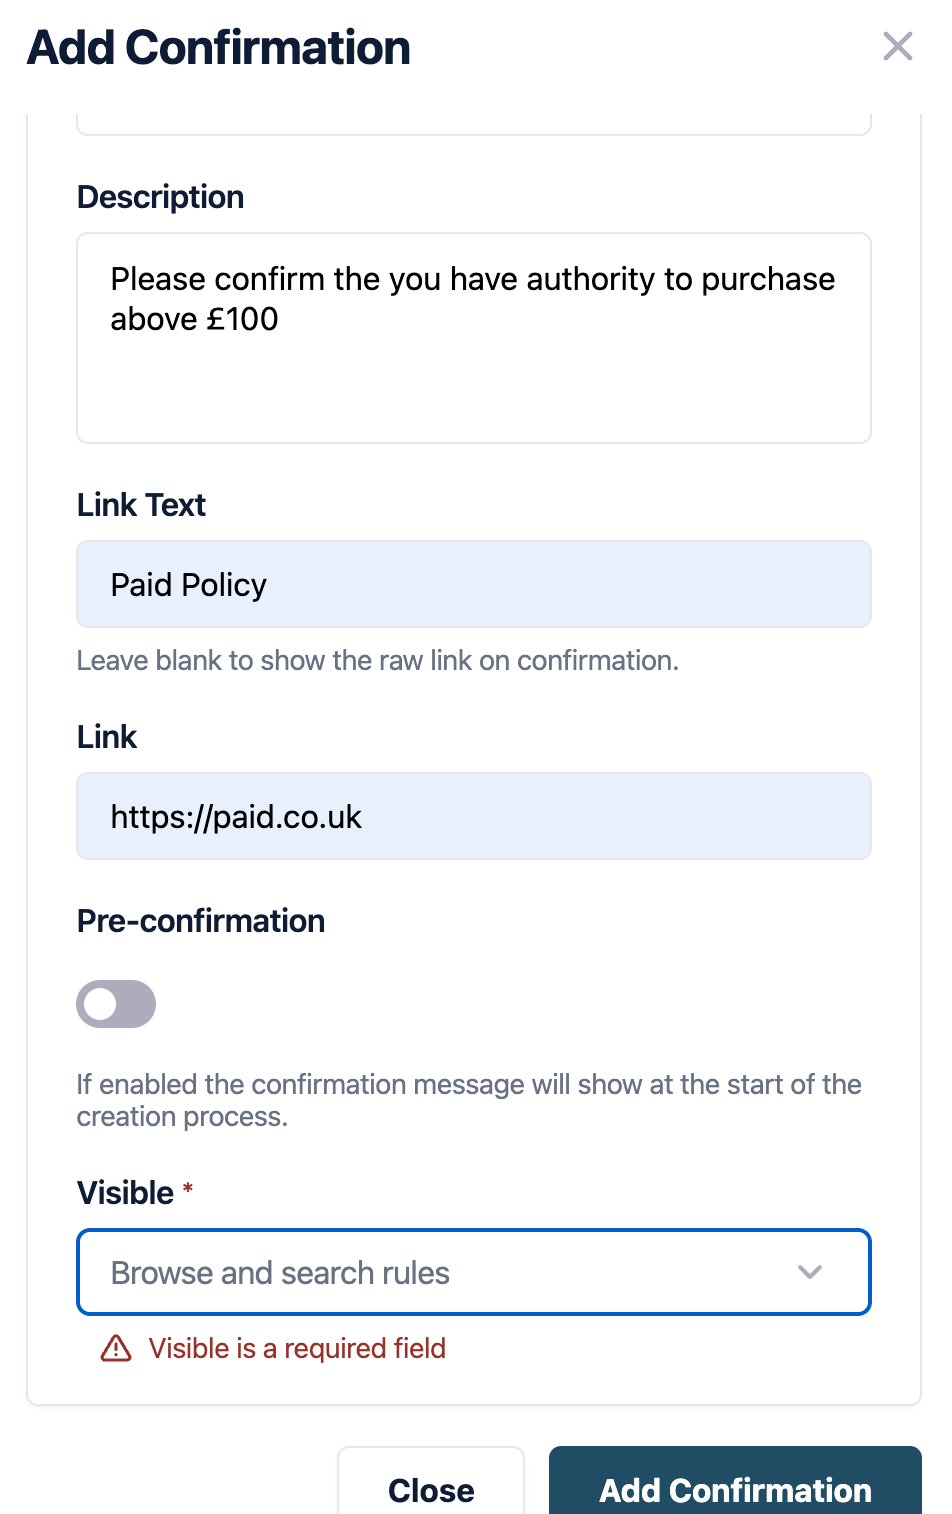
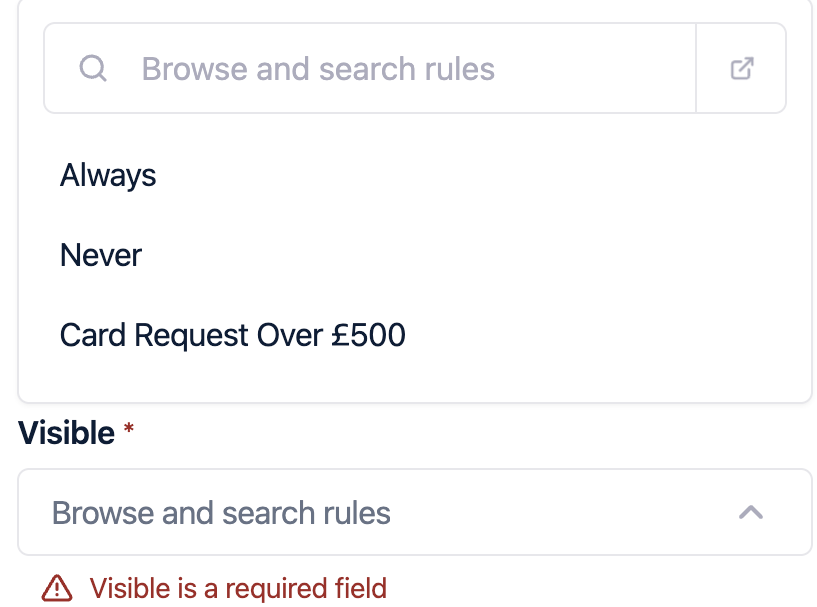
4) From here select “Add Confirmation”, a pop out box will appear on the right hand side of the screen;
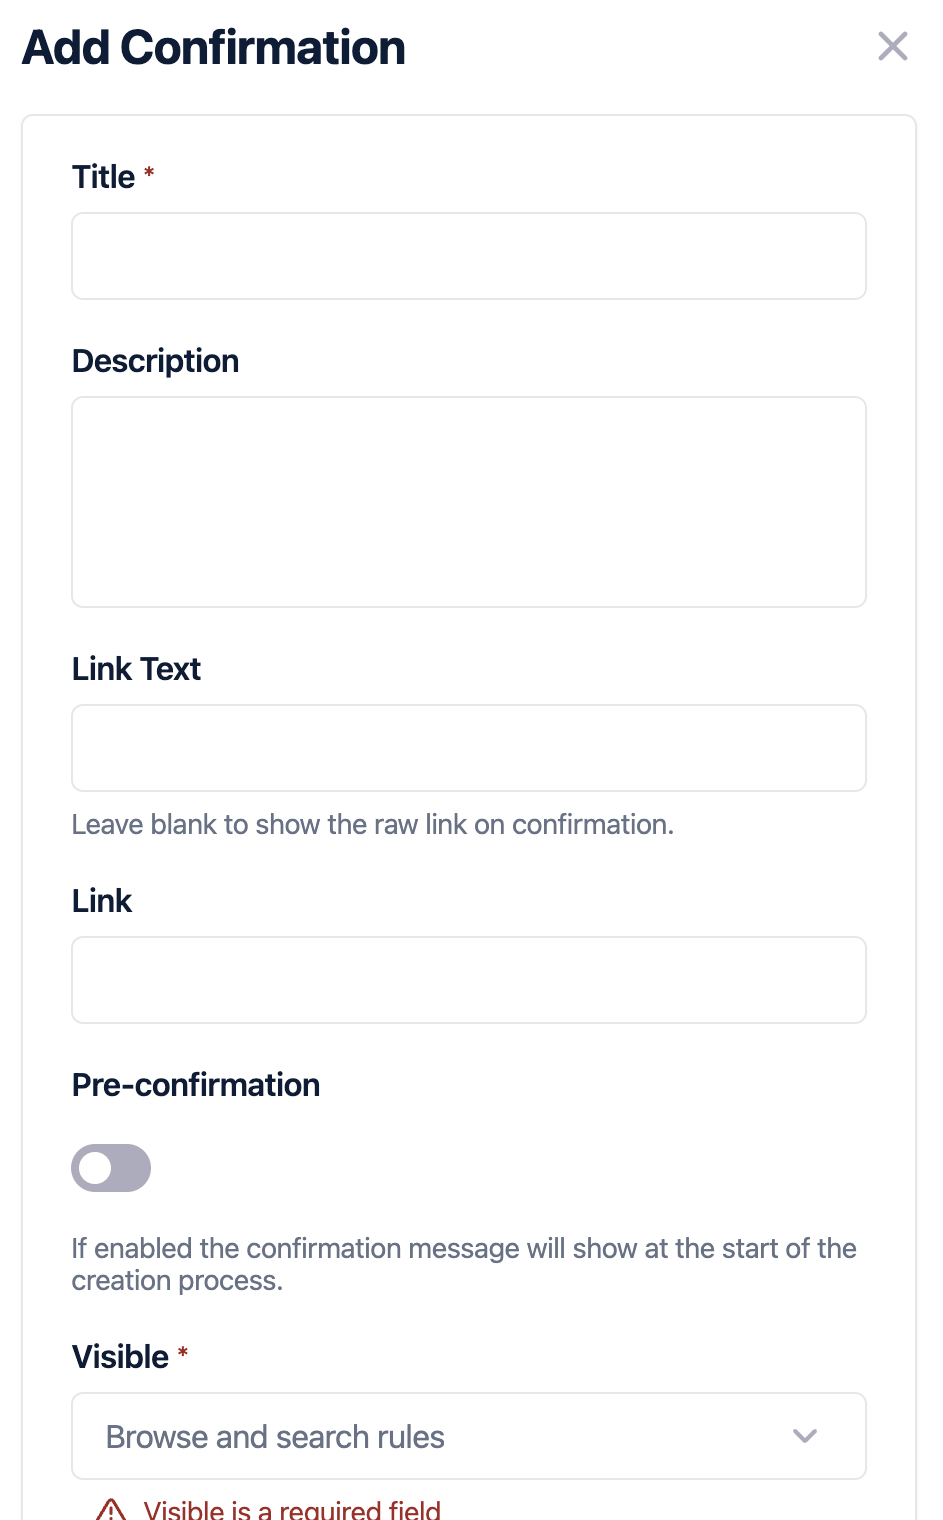
5) Before you set up the new confirmation, it is important to understand the two types of Confirmation Messages;
|
Type |
Description |
Where It Appears |
|
Pre-confirmation |
Message appears before the user completes any steps in the card creation journey. |
At the beginning (e.g., a compliance check pop-up). |
|
Post-confirmation |
Message appears after the user has entered details, just before final submission. |
On the summary screen. |
Example: A pre-confirmation might ask the user: "Do you abide by all of our rules before you create the virtual card?"